If you spend money on ads, two pieces of tracking matter more than almost anything else: Google Analytics 4, usually called GA4, and Meta's Conversions API. Together, they decide whether you can see which marketing is producing results, and whether the ad platforms can learn to find more customers like your best ones.
They also have a reputation for being technical and confusing. This guide explains both in plain English and gives you a setup plan you can hand to a developer or follow yourself.
What each tool does
GA4 is Google's analytics platform. It records what people do on your website or app: which pages they visit, where they came from, and which actions they take, such as submitting a form or completing a purchase. It is your own view of your website, across every marketing channel.
The Meta pixel is a piece of code on your website that tells Meta when someone who saw or clicked an ad takes an action. Meta uses that information to report results and to optimise who it shows your ads to.
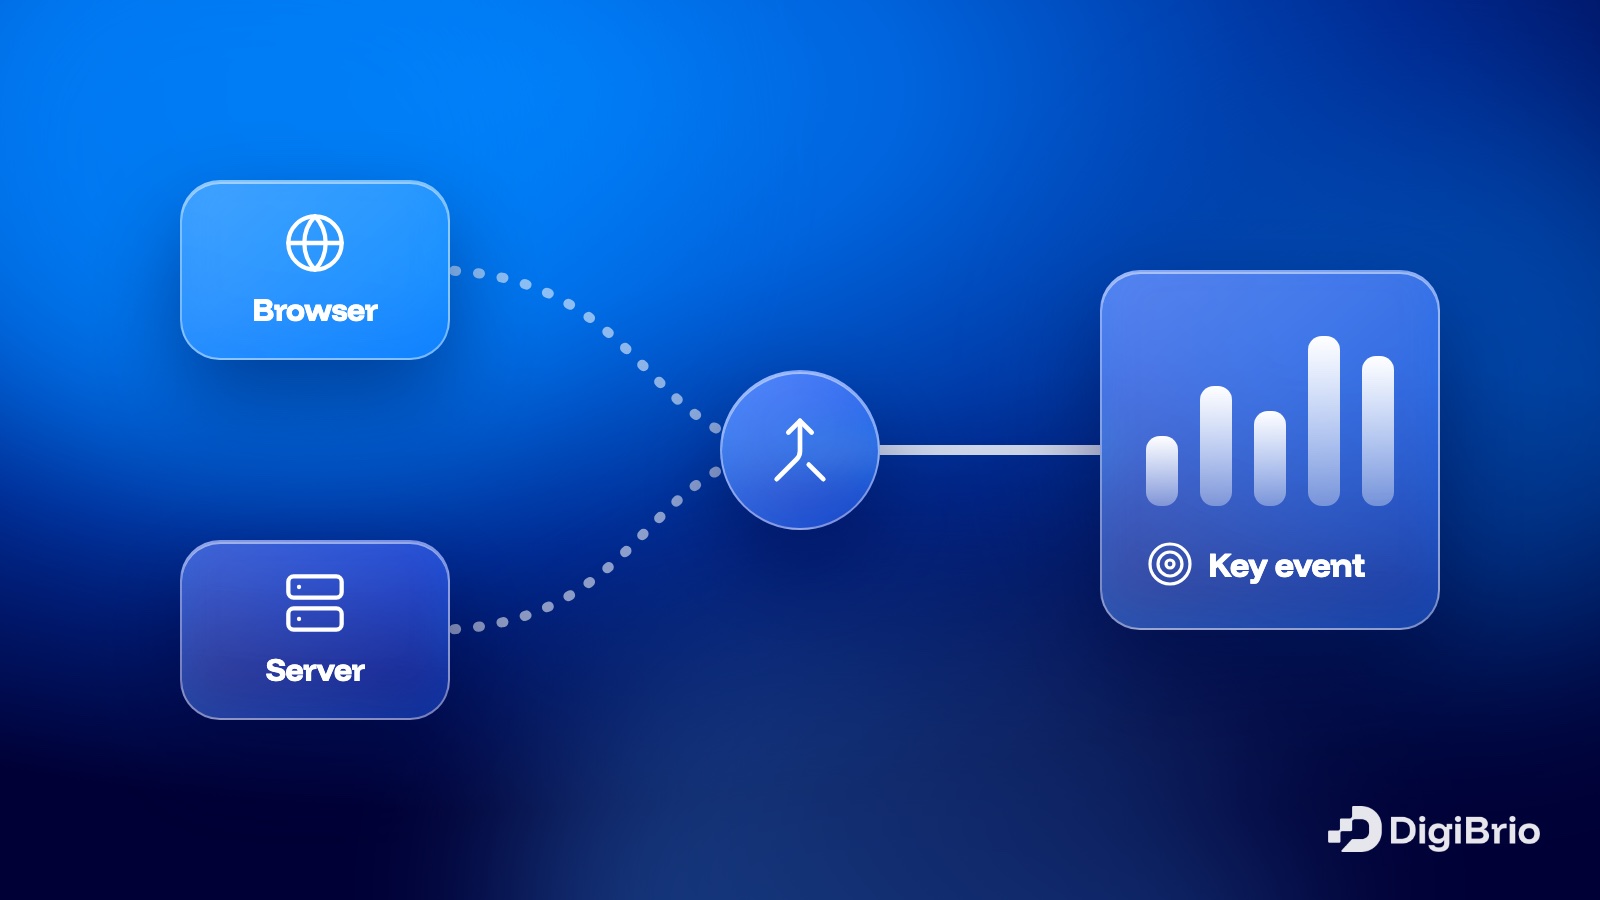
The Meta Conversions API, or CAPI, sends the same kind of information to Meta from your server instead of from the visitor's browser. That matters because browser tracking is increasingly unreliable.
Why browser tracking alone isn't enough
When tracking runs only in the visitor's browser, a lot can stop it: ad blockers, privacy settings, browsers that limit cookies, slow connections where the page is closed before the code loads, and people moving between apps and browsers on their phones.
The result is that some of your real conversions never reach Meta. Your reports undercount results, and the ad system learns from an incomplete picture, so it gets worse at finding the right people. Sending events from your server as well as the browser fills many of those gaps.
Step 1: Decide what you're measuring
Before anyone touches code, write down the actions that matter for your business. Keep the list short. For most businesses it looks something like this:
- Lead businesses: form submitted, call button tapped, WhatsApp chat started
- E-commerce: product viewed, added to cart, checkout started, purchase completed
- Bookings: booking started, booking completed
In GA4, the actions you care most about are marked as key events (Google's current name for what it used to call conversions). In Meta, they are sent as standard events like Lead, Purchase or CompleteRegistration. Use the same definitions in both, so the numbers are comparable.
Step 2: Set up GA4 properly
- Create a GA4 property and a web data stream for your website.
- Install the tag, either directly or through Google Tag Manager. Tag Manager is easier to maintain as your tracking grows.
- Check that enhanced measurement is collecting the basics, like page views and scrolls.
- Create events for your important actions, and mark the most important ones as key events.
- Link GA4 to Google Ads, so your ads can use those key events.
- Set your data retention to the longest available option, so you can compare periods later.
If your website has a consent banner, set up Google's consent mode so tracking respects each visitor's choice. Collecting data without proper consent creates legal risk and erodes trust.
Step 3: Set up the Meta pixel and Conversions API
There are several ways to add the Conversions API, and the right one depends on your website:
- Platform integrations. Shopify, WooCommerce and several other platforms offer built-in or partner integrations that switch on CAPI with little or no code.
- Conversions API Gateway. A Meta-provided option that runs in your own cloud account, suitable when you want server-side tracking without building it.
- Server-side Google Tag Manager. A flexible option that can feed GA4, Meta and other platforms from one server container.
- Direct integration. Your developers send events from your backend to Meta's API. This is the most flexible and the most work.
Whichever route you choose, two details make the difference between good and bad data.
Deduplication. If the browser pixel and your server both report the same purchase, Meta needs to know it is one purchase, not two. Send the same event name and a shared event ID from both sources, and Meta will count it once.
Customer information. Meta matches events to people using details like email address and phone number, which are hashed before sending so they are not readable. The more good-quality matching information you send, with consent, the higher your Event Match Quality score in Events Manager and the better your ads can optimise.
Step 4: Test everything before you trust it
Never assume tracking works because someone said it was installed. Test it.
- In GA4, use DebugView while you click through your site and submit a test form. Each event should appear within seconds.
- In Meta Events Manager, use the Test events tool to confirm that browser and server events arrive and are deduplicated.
- Complete a real test purchase or enquiry, and check that the numbers match what your own system recorded.
Then repeat the check every month, and after every website change. Tracking breaks quietly. A redesigned thank-you page or a new form plugin can switch off your conversions overnight, and you may not notice until the results look strangely poor.
Common mistakes we see
- Counting the same lead twice because of a missing event ID
- Marking page views or button clicks as key events, which inflates results
- Firing the conversion on the form page instead of after successful submission
- Forgetting to update tracking after a website redesign
- Comparing GA4 and Meta numbers and expecting them to match exactly; they use different attribution rules, so some difference is normal
The bottom line
Good tracking is not glamorous, but it is the foundation every marketing decision rests on. GA4 gives you an honest view of your website across all channels. The Meta Conversions API helps Meta see the results its ads produce, even when browsers get in the way. Define your events, set both up carefully, deduplicate, test and keep testing. Then you can spend with confidence, because you can finally see what is working.